SwiftUI Animation: Creating an Interactive Button with TimelineView
Hi there! Since I started working on a side project in SwiftUI, I’ve been sharing my journey and the things I do every day while working on it.
While I was considering feauture that my app should have I decide it would be nice to have a button that shows an animation while my users are listening to sound. After some research and tinkering, I came up with this button:
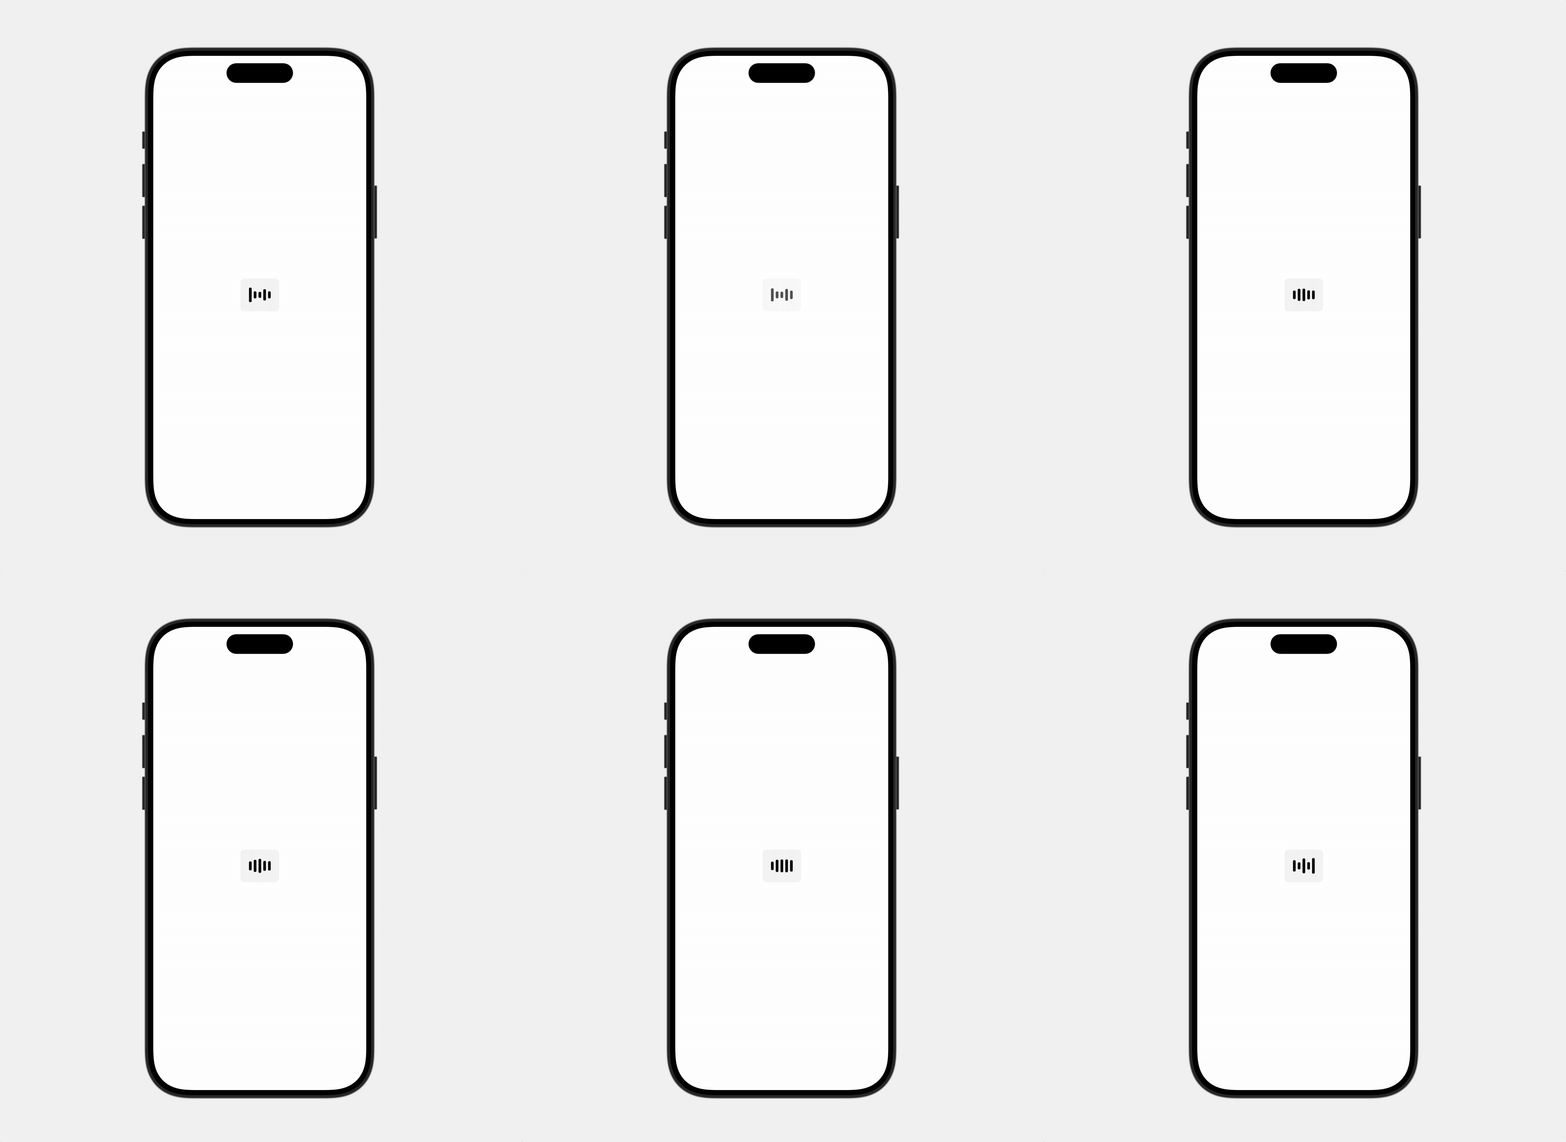 Pic 1. Beautiful innit?
In this article, I’ll explain how it works and how you can do the same.
Disclaimer
This article is for entry-level developers, so if you’re a high-skilled 20-YOE-ex-FAANG ninja… you might still find it useful. 😊 Now, let’s get started to explore how to make this button!
Step 0: Five (Guys 🍔) Bars
Our animation is an “equalizer-like” effect, with a few bars that change their heights, imitating a real equalizer.
First, let’s create the view with bars:
struct EqualizerView: View {
@State private var animationValues: [CGFloat]
private let barSize: CGSize
init(barCount: Int = 5, barSize: CGSize = CGSize(width: 5, height: 30) {
animationValues = EqualizerView.generateState(barCount)
self.barSize = barSize
}
var body: some View {
HStack(spacing: 4) {
ForEach(0..<animationValues.count, id: \.self) { index in
RoundedRectangle(cornerRadius: 2)
.frame(width: barSize.width, height: barSize.height)
}
}
.frame(height: barSize.height)
.padding()
.background(.ultraThickMaterial)
.cornerRadius(8)
}
}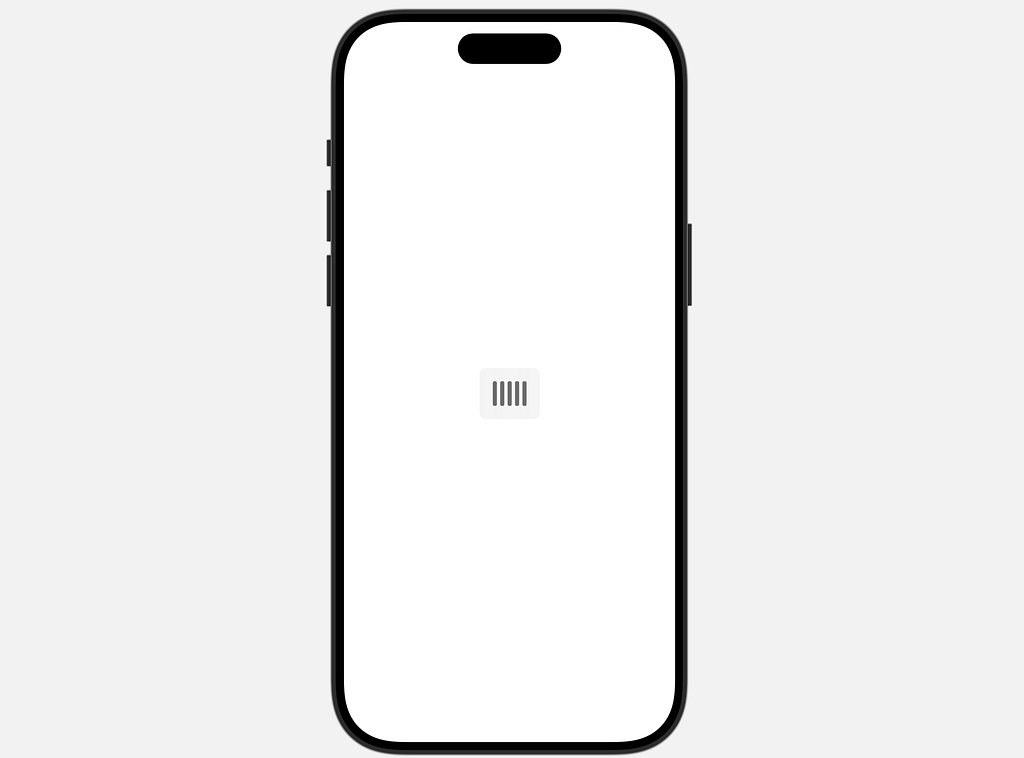 Pic 2. It isn’t alive yet
Here, we created a view that takes the count of bars and their size. We placed it on ultra-thick material (SICK!) and added some padding all around.
Step 1: Animation
My goal was to show an endless animation that works only when sound is playing. As you may know, to animate anything, we need at least two things:
- Values that change — obviously, we need to know what’s changing to create the animation.
- Mechanics that help us transition between states A → B.
Luckily, SwiftUI has a built-in solution, so we won’t need to reinvent the wheel.
Let’s add this default mechanism to our view. We have two basic options to do that:
- withAnimation
- The animation modifier.
I recommend sticking with the second one because, in my opinion, it’s a more “declarative” way than calling a function randomly that performs some magic.
struct EqualizerView: View {
  @State private var animationValues: [CGFloat]
  private let barSize: CGSize

  init(barCount: Int = 5, barSize: CGSize = CGSize(width: 5, height: 30) {
    animationValues = EqualizerView.generateState(barCount)
    self.barSize = barSize
  }

  var body: some View {
    HStack(spacing: 4) {
        ForEach(0..<animationValues.count, id: \.self) { index in
            RoundedRectangle(cornerRadius: 2)
                .frame(width: barSize.width, height: barSize.height * animationValues[index])
                .animation(Animation.easeIn(duration: 0.4), value: animationValues[index])
        }
    }
      .frame(height: barSize.height)
      .padding()
      .background(.ultraThickMaterial)
      .cornerRadius(8)
  }
}
Here, we added the modifier with one of the standard animations: easeIn. The animation works when animationValues[index] changes.
Now, we need to make these values change
Step 2: State updating
To update the state, we need to answer the questions:
How should we do it?
It’s simple: in our case, the heights of the bars depend on the data in animationValues. We just need to update this data with random (or specific) values.
Here’s a function that creates a random array of CGFloat values with a given size:
private static func generateState(_ barCount: Int) -> [CGFloat] {
    guard barCount > 0 else {
        return []
    }
    return (0..<barCount).map { _ in CGFloat.random(in: 0.3...1.0)  }
}
And to the folks who just thought about using Array(repeating: 0, count: 5), we can’t use that because Array(repeating:count:) accepts a value, not a function. :), so we’d have one random value for all the bars. Weird, right?
When should we update the state?
This is where engineers start overcomplicating or oversimplifying things.
You’ll often come across these two main solutions:
DispatchQueue: bad idea
 var body: some View {
  SomeView
    .onAppear {
      startAnimating()
    }
    .onDisappear {
      isAnimating = false
    }
}

func startAnimating() {
  DispatchQueue.main.asyncAfter(deadline: .now() + 0.4) {
      // data updating is here

      // if isAnimation is false we shouldn't continue recursion
      if isAnimating {
          startAnimating()
      }
  }
}
What’s wrong with this solution? It’s simple, and everyone understands how it works… Everything!
- It’s recursion, and you need to control the main condition.
- If you want to pause and resume the animation, you need to add some extra logic, which complicates things unnecessarily.
The rule of thumb — Don’t use DispatchQueue.main.asyncAfter if you can avoid it, there is planty of other things that cover your needs better.
Timer: not so bad
.onAppear {
  timer = Timer.scheduledTimer(withTimeInterval: 0.4, repeats: true) { _ in
    // data updating is here
  }
.onDisappear {
  timer?.invalidate()
}
Honestly, there’s nothing wrong with this solution. It works, and it isn’t complicated.
However, if you want to stop and resume the animation, you’ll need to manage that with additional logic, which can complicate things.
It works fine for UIKit views, but since we’re building a declarative solution, it’s not the best solution. However you can do it even worse!
Bonus one: put everything in ViewModel
Sometimes people go overboard by moving view logic into the ViewModel for no reason, just to add test coverage to an already useless ViewModel—don’t be like these people!
class ViewModel: ObservableObject {
  @Published var isAnimated: Bool = false
  @Published var animatedValues: [CGFLoat] = []
  private var timer: Timer?

  init() {}

  func startAnimating() {
    timer = Timer.scheduledTimer(withTimeInterval: 0.4, repeats: true) { _ in
      // data updating is here
    }
  }
  func stopAnimating() {
    timer?.invalidate()
  }
}

struct EqualizerView: View {
  @ObservedObject var viewModel = ViewModel()

  var body: some View {
    someView
      .onAppear {
        viewModel.startAnimating()
      }
      .onDisappear {
        viewModel.stopAnimating()
      }
  }
}
Already feeling like you’re on the way to becoming a $300k+ Software Engineer? Nope, you just made your life harder without any real benefit.
Let’s see how can we do it quicker and simpler.
TimelineView
The solution? TimelineView. A view that updates according to a schedule that you provide. Here’s the clean, simple solution:
TimelineView(.animation(minimumInterval: interval, paused: paused)) { context in
    HStack(spacing: 4) {
        ForEach(0..<animationValues.count, id: \.self) { index in
            RoundedRectangle(cornerRadius: 2)
                .frame(width: barSize.width, height: animationValues[index] * barSize.height)
                .animation(Animation.easeIn(duration: interval), value: animationValues[index])
        }
    }
    .frame(height: barSize.height)
    .onChange(of: context.date) { _, date in
        animationValues = EqualizerView.generateState(animationValues.count)
    }
}
Simple, clear, declarative — everything we like and desire in our projects. With this solution, we don’t need to worry about recursion, timer invalidation, or any other complex logic. We just add the view, and it handles everything by itself.
How this solution works:
- The TimelineView updates its child views every “interval” (in our case, 0.4 seconds). It doesn’t update them if paused is true.
- The onChange(of: context.date) modifier performs a closure every time context.date is updated, where new data is generated.
Fin.
Here’s the full example of how to make the button from the first image:
Thank you for reading! Hope you learned something new, and stay tuned for more!
Useful links for those who want to dive deeper